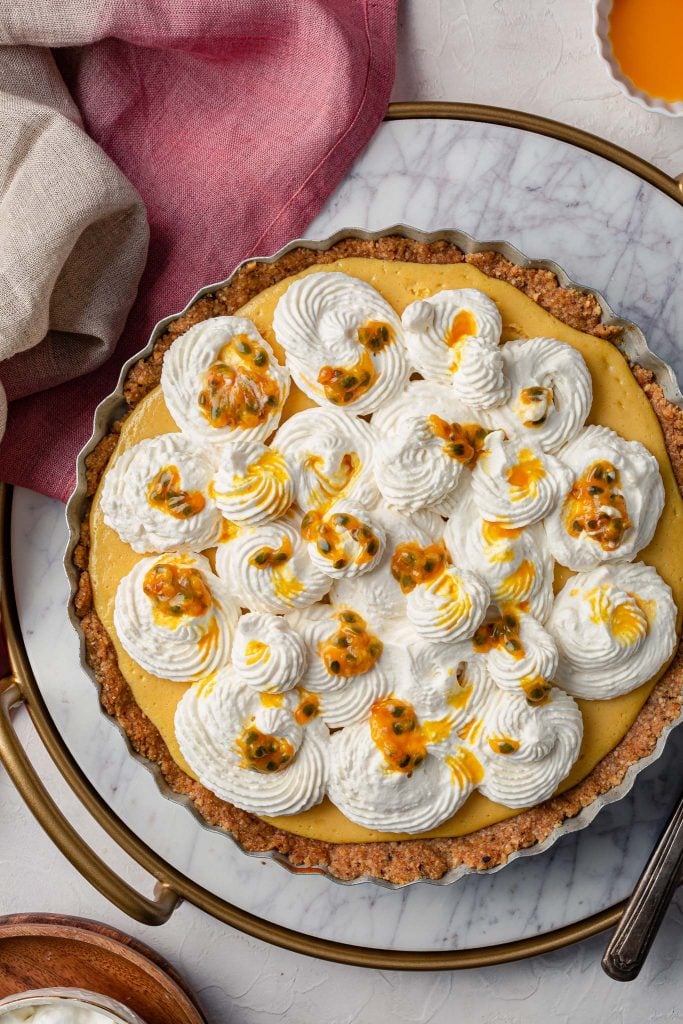
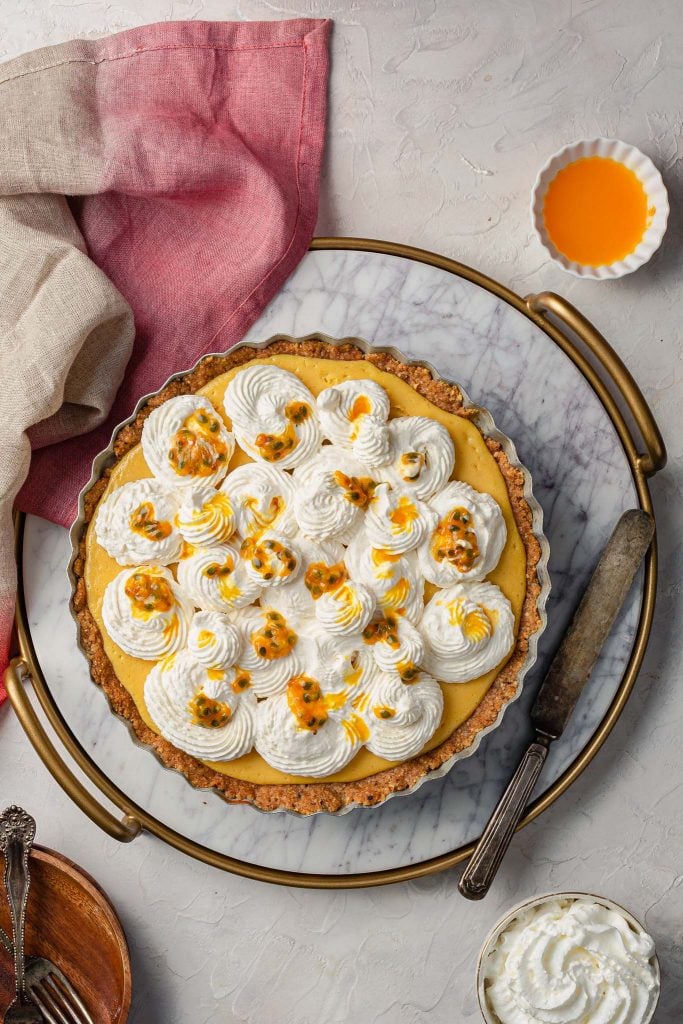
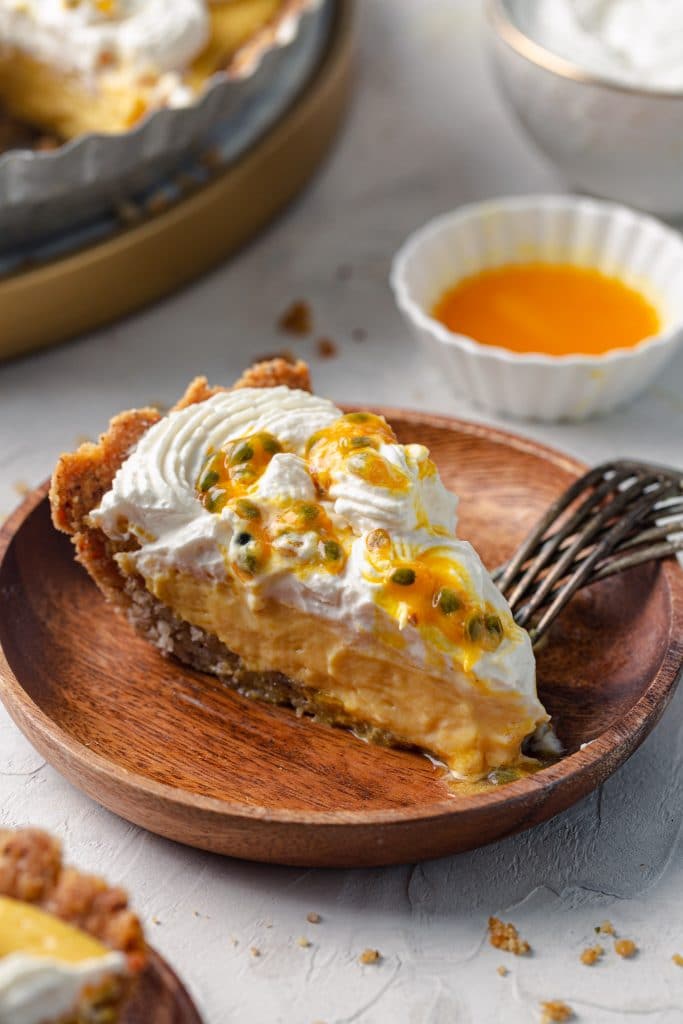
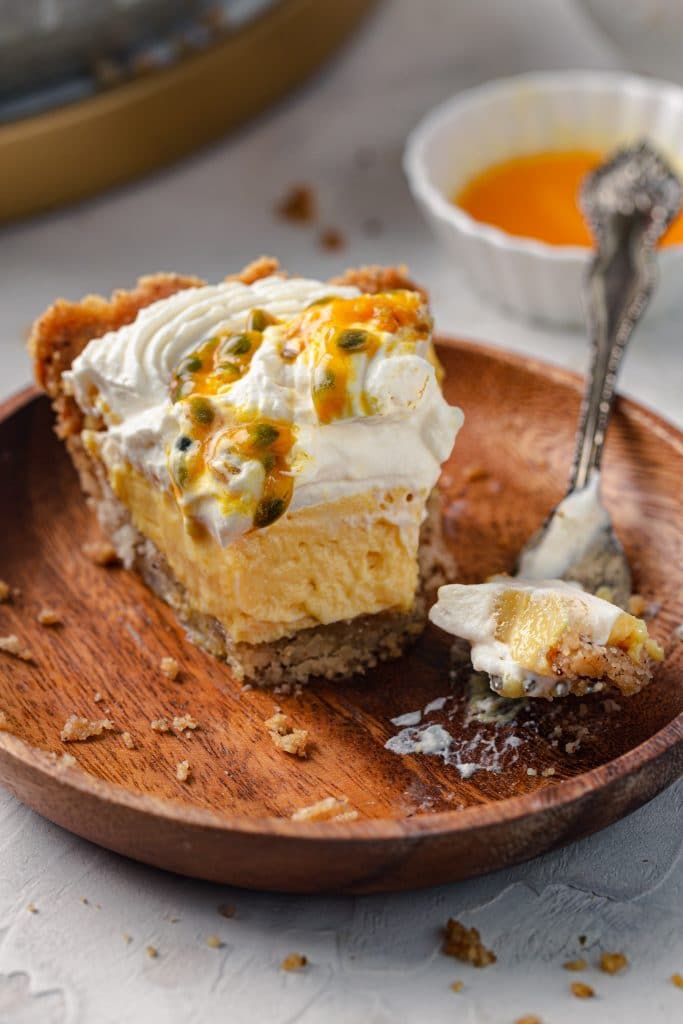
By now, you’ve probably noticed I adore passion fruit. This pie is at the top of the list of my favorite passion fruit recipes, along my Passion Fruit Mousse and Passion Fruit Curd!
This passion fruit dessert will steal the show!
I. Can’t. Stop. Eating. This. Pie! Please, send help. And by help I mean company, so I have an excuse to eat another slice! After all, I can’t have my guests eating alone. But all gluttony aside, I am pretty proud of this passion fruit cream pie! It comes together with very little prep and has been inspiring oohs and aahs every time I serve it. And since it can be made with frozen passion fruit, you can make it all year round!
Ingredients
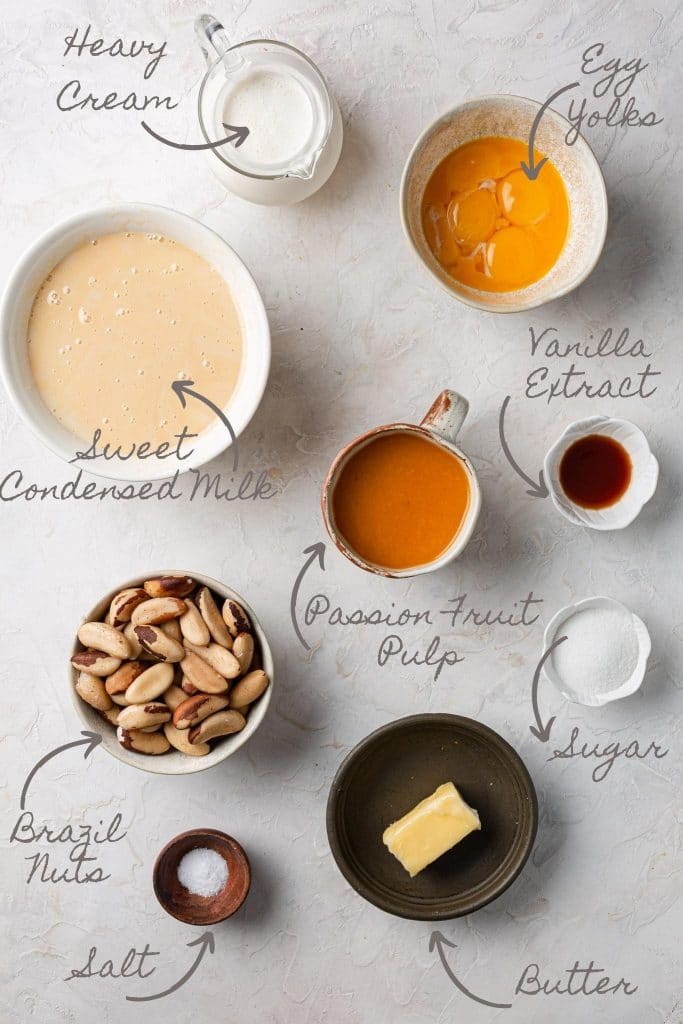
Here’s what you’ll need to make the Brazil nut crust: BRAZIL NUTS – Make sure they are fresh. Those forgotten nuts in the back of your pantry won’t do, as they’ll probably taste bitter. SUGAR – Just a touch (a couple tablespoons) for the crust. The pie filling is sweet enough due to the sweet condensed milk! BUTTER – Unsalted butter, at room temperature. SALT – A pinch of salt goes in the crust to balance the flavors. And to make the passion fruit filling and cream topping: PASSION FRUIT PULP – Here I used thawed frozen pulp, but you can use fresh if you can find it. You will need 10 to 12 passion fruits to get one cup of pulp! To separate from the seeds, gently heat to liquefy and strain through a fine mesh strainer. EGG YOLKS – The protein in the egg yolks help the filling firm, while the fat content adds creaminess. SWEET CONDENSED MILK – My favorite dessert ingredient! Provides sweetness and creaminess to this pie. I also like to save a little bit to add to the whipped cream topping. HEAVY CREAM – For the cream topping. Make sure it is cold! VANILLA EXTRACT – To flavor the whipped cream.
How to make Passion Fruit Cream Pie
The inspiration for this pie came from another dessert I love: the classic lemon cream pie. But, since I was subbing the lemon for passion fruit, I thought it be fitting to make a Brazil nut crust instead of the usual graham cracker crust. Ya know, just to keep it tropical! 😉 That being said, if you have a nut allergy (or simply don’t like Brazil nuts), feel free to use a homemade or store bought graham cracker crust instead. Your pie will be delicious regardless! Recommended tools and equipment: Food processor, 9-inch pie dish, hand mixer. Here’s how I make passion fruit cream pie. As always, you will find the printable (and more complete) version of the recipe at the end of this post!
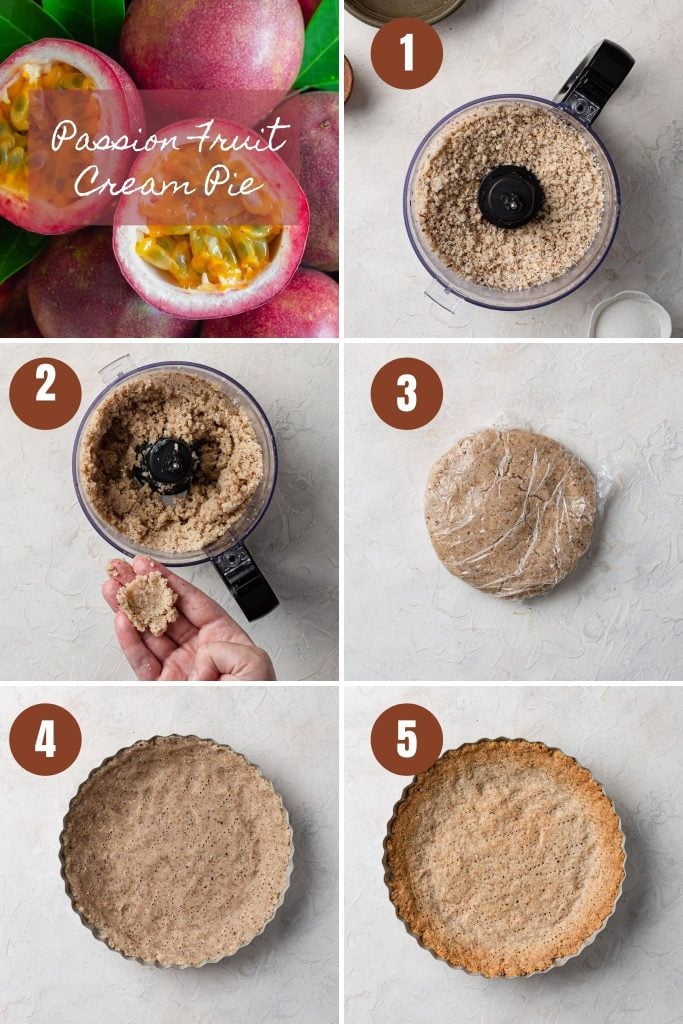
Step 1: Make the crust.
Process the Brazil nuts until finely ground. (Photo 1)Add the remaining crust ingredients and pulse until everything comes together. (Photo 2)Wrap the dough in plastic and place it in the fridge for 1 hour. (Photo 3)Press the chilled dough into a pie dish and prick all over with a fork. (Photo 4) Place it in the freezer for 30 minutes.Bake at 375 degrees F for about 15 minutes or until golden brown. (Photo 5)
Step 2: Make the cream filling.
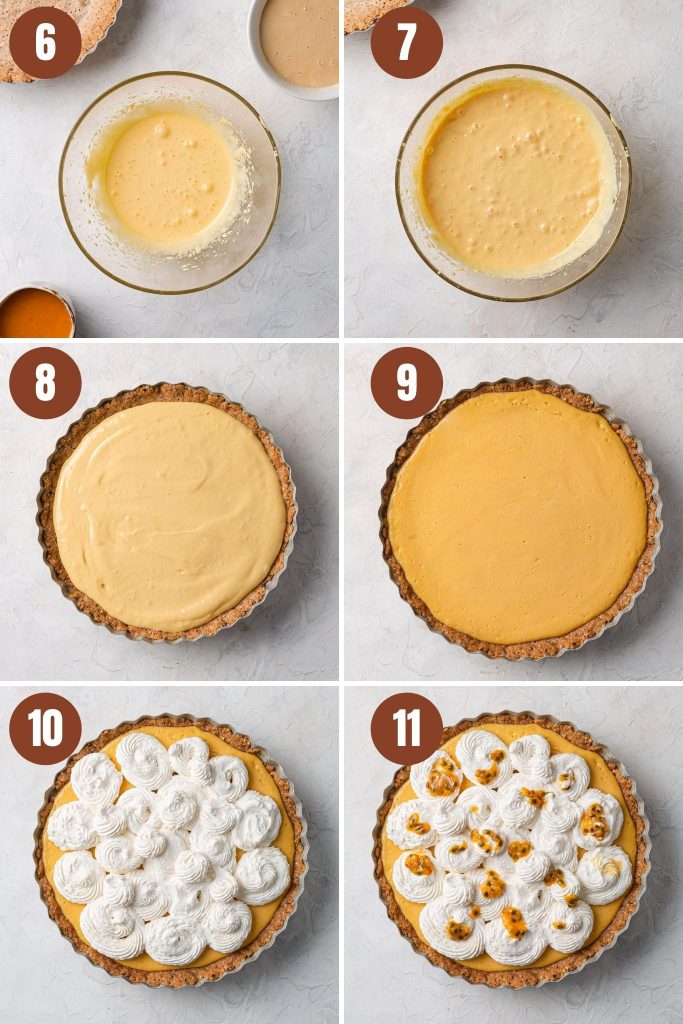
Beat egg yolks until pale and fluffy. (Photo 6)Add most of the sweet condensed milk (reserve 3 tablespoons for later) and passion fruit pulp, and beat until combined. (Photo 7)
Step 3: Bake the pie.
Pour filling into the cooled crust. (Photo 8)Bake at 375 degrees F until the edges are set but the center is still jiggly. (Photo 9)Let it cool completely and then refrigerate for at least 3 hours.
Step 4: Make the whipped topping.
Beat the cold whipped cream with the vanilla extract and reserved sweet condensed milk, until stiff peaks form.
Step 5: Top the pie with the cream.
Spread or pipe the whipped cream over the cold pie. (Photo 10)If desired, garnish with fresh passion fruit pulp. (Photo 11)Serve immediately or refrigerate until ready to serve.
Can I top this pie with meringue instead?
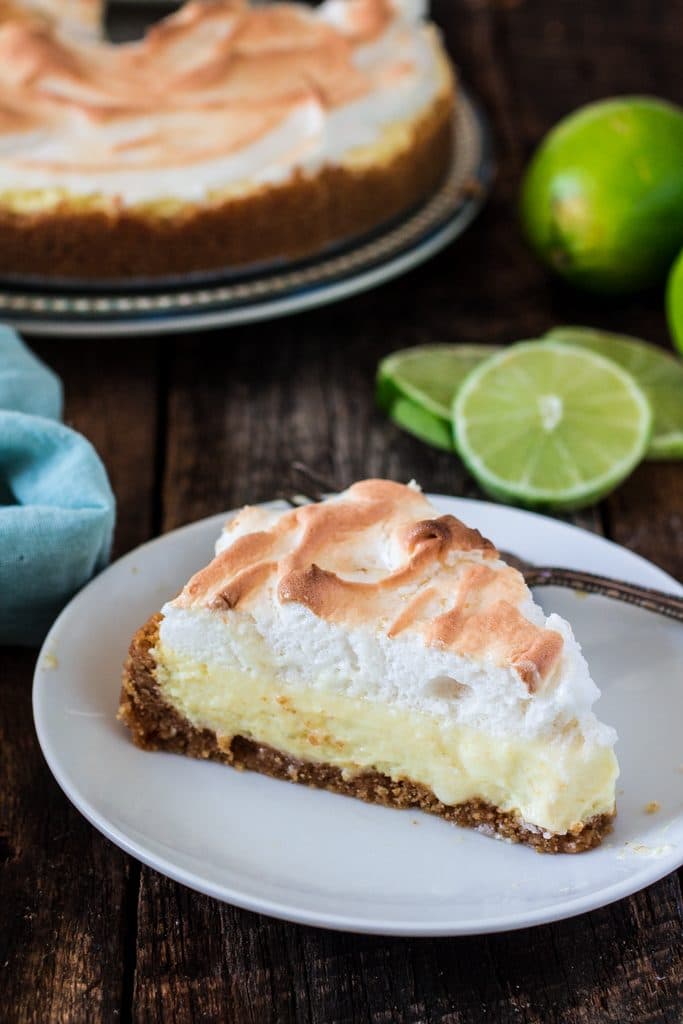
Yes, but then it’ll be called a Passion Fruit Meringue Pie! :)
Can I make passion fruit cream pie ahead?
Once this pie it’s completely assembled, you should serve it within 1 hour. That being said, you can make the dough 2-3 days in advance and keep it in the fridge. You can also blind bake it the day before. The filling can be made up to 2 days ahead and kept chilled. And if you don’t mind the bottom of the pie getting slightly soft, you can fill and bake the pie the day before. Whatever you do, do not top the pie with the whipped cream until you are ready to serve. As I mentioned earlier, it will weep and lose all the air bubbles that were whipped into it. Did you make this recipe? I love hearing from you! Please comment and leave a 5-star rating below. You can also take a photo and tag me on Instagram with #oliviascuisine.
If you love this passion fruit cream pie, you will also like:

