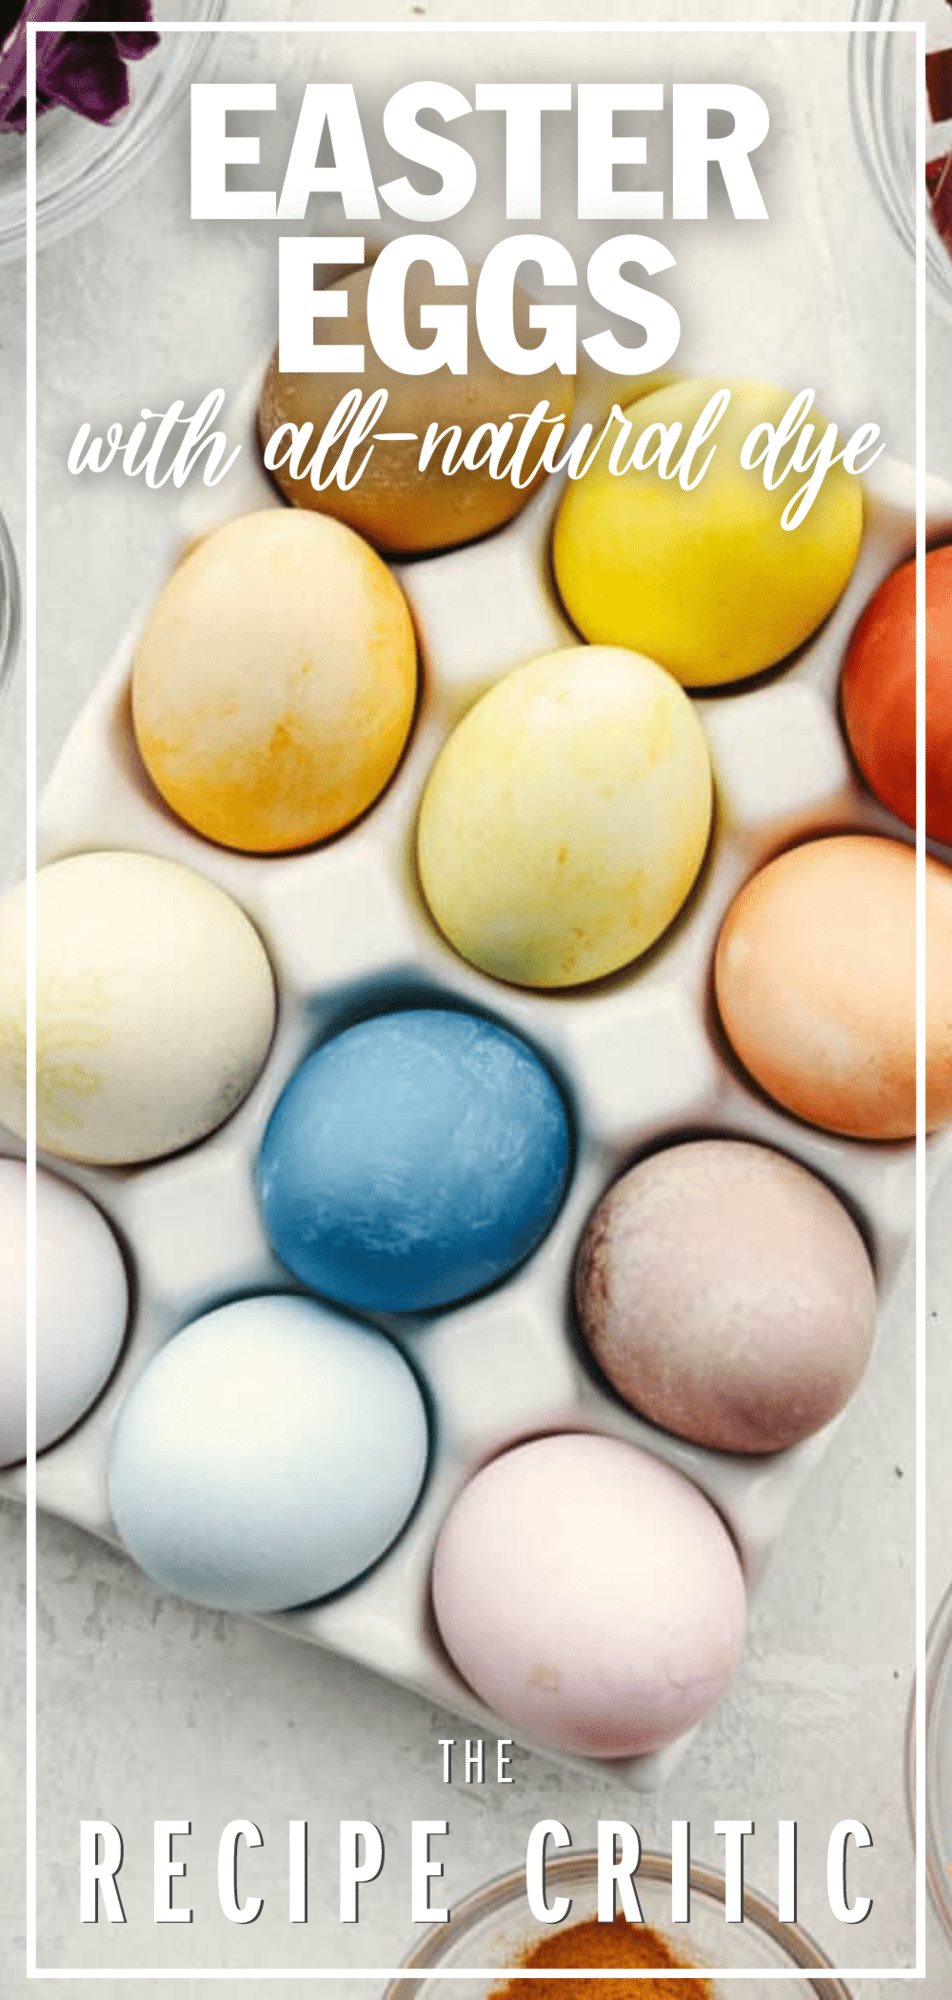
These naturally dyed Easter eggs are such a fun activity for the family! It’s amazing to see what colors you can create with basic vegetables and spices! Only 10 more days until Easter! You’ve got to capitalize on the festive desserts and treats while you can! Bunny cupcakes, Easter egg sugar cookies, and Easter cake are all as cute as they are delicious!
Easter Eggs Dyed With Natural Ingredients
Making Easter eggs with natural ingredients is a science experiment your kids are going to want on repeat! (Find more fun, family-friendly recipes here!) It requires a little extra prep work, but the process is so fun! My kids loved watching basic veggies turn into dye with just a little water and vinegar! You can achieve both vibrant and pastel colors with this lineup. The best part is, a lot of these ingredients were just hanging out in my pantry and fridge! This method is great if you’re wanting that perfect color, but the boxed dye just isn’t cutting it. You can throw some dye together in a pinch! This really is a great activity and produces the most beautiful results. Let’s get started!
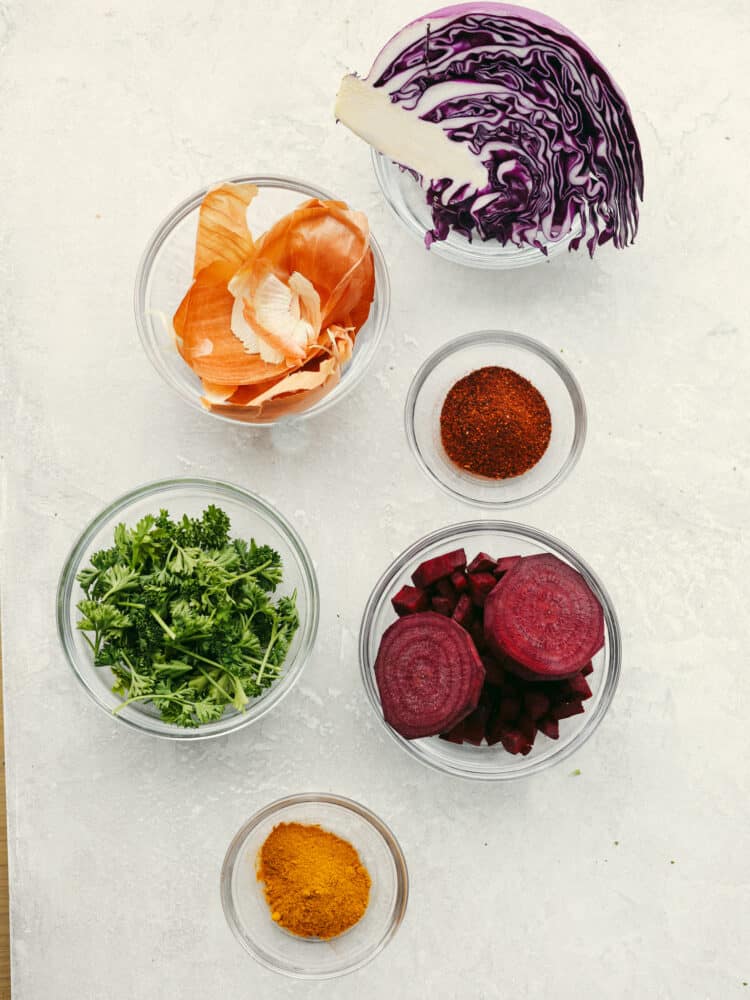
All Ingredients Needed
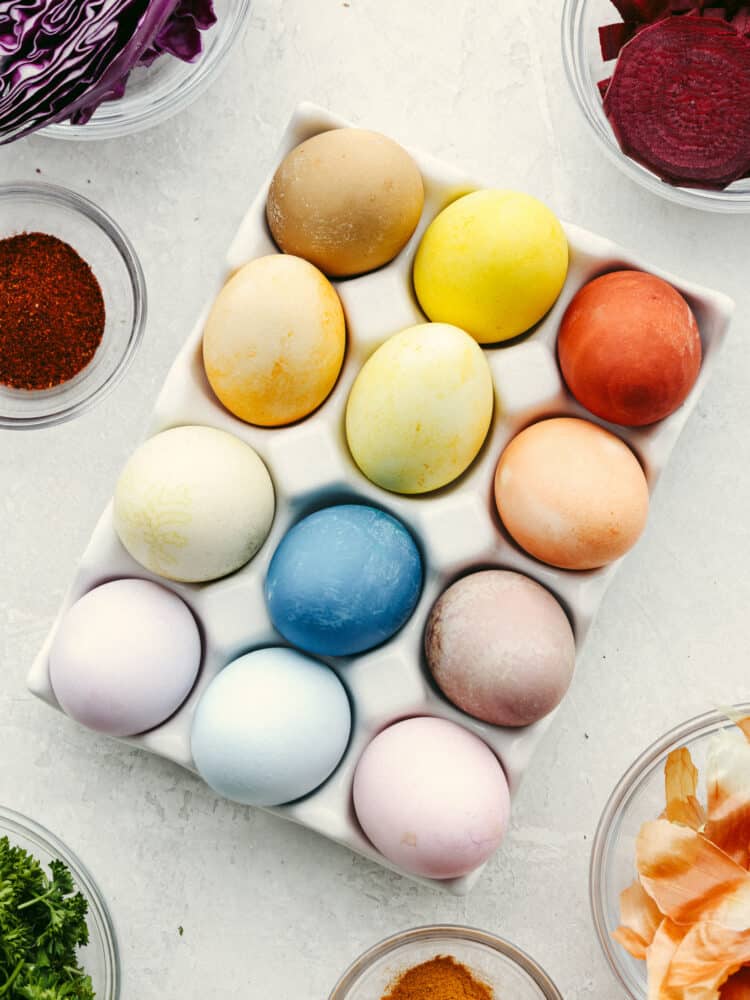
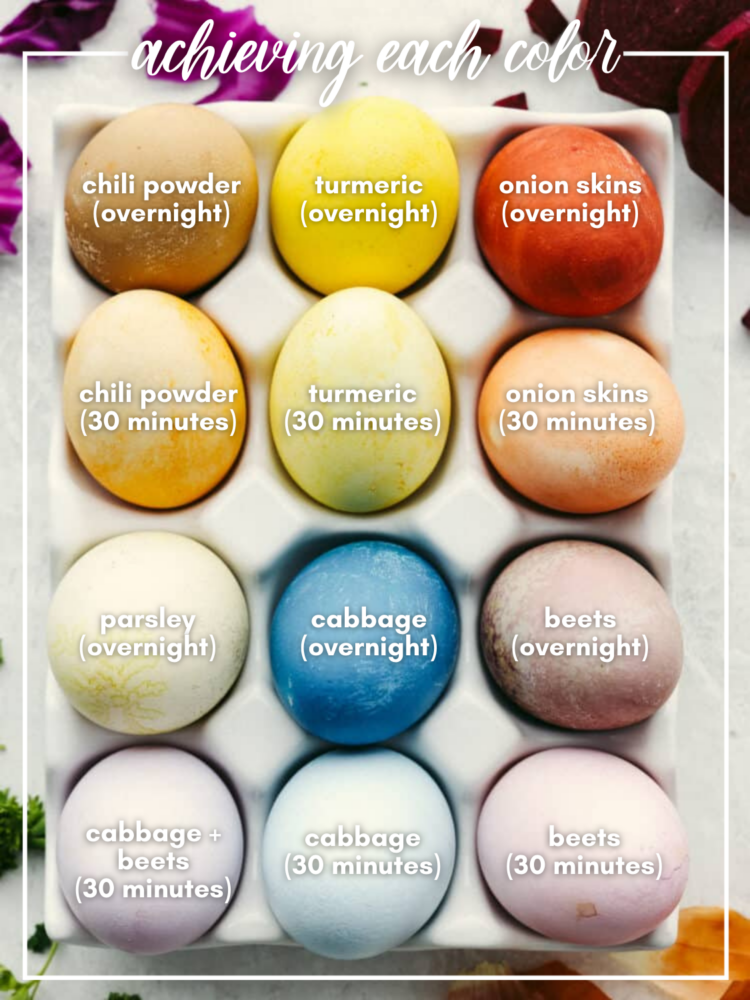
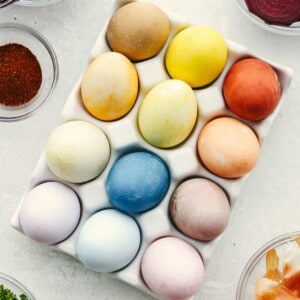
This is what I used to dye my eggs, and the results turned out beautifully! We got both bold and vibrant colors as well as delicate pastels! You can experiment with other bright vegetables and spices, too, to see what dye they create! All measurements can be found in the recipe card below.
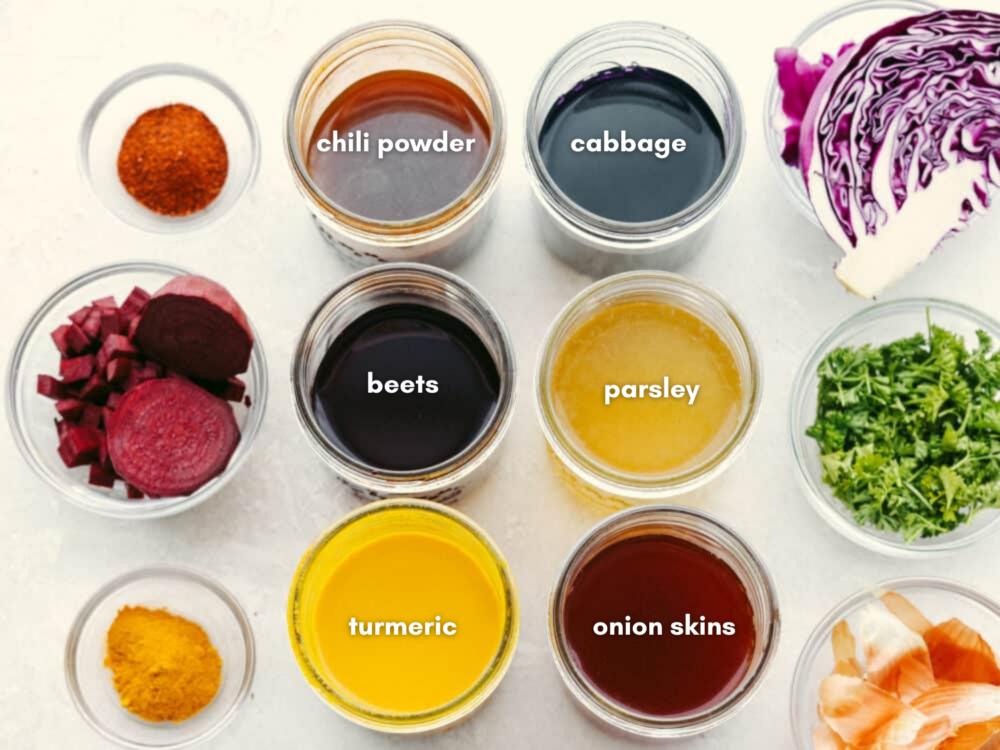
Hard-Boiled Eggs: The canvas for your beautiful creations. I’ve got a quick and easy method to make them here!Water: Creates the liquid base for your dye.White Vinegar: Vinegar is what helps the colors actually bond to the outside of your eggs!Skin from Yellow Onions: Produces a deep orange dye.Turmeric: For the most vibrant yellow!Red Cabbage: Creates purples and blues!Beet: For pink and red tones.Chili Powder: Makes a brown dye.Fresh Parsley: Creates a pastel greenish-yellow.
How to Make Natural Easter Egg Dye
Not only is it fun to make natural dyes, but they’re a healthy choice, too! They’re free of harsh chemicals but look just as lovely! Note: these dyes will stain. Wear an apron or clothes you don’t care about!
Making Designs: To make designs, use a white crayon to draw patterns on the hard-boiled eggs before adding them to the dye.Dye Time: The longer you leave your eggs in the dye, the more vibrant they will be. At 30 minutes, my eggs were more on the pastel side. Leaving them in the dye overnight produced the brightest results.Layering and Mixing Colors: Experiment by dipping eggs in more than one dye to achieve layered colors and new shades!Purple: Dye first in cabbage, then beets.Green: Dye first in turmeric, then cabbage.Gray: Dye first in chili powder, then cabbage.Using Brown Eggs: Brown eggs can be used, but you’ll end up with a slightly different and darker color than if you use white eggs.
Storing Dyes: Keep the prepared dyes in the refrigerator until ready to use. They will keep in the fridge for up to 7 days. Storing Dyed Eggs: Store dyed eggs in the fridge for up to 7 days. Be aware that the color may fade or rub or peel off over time.
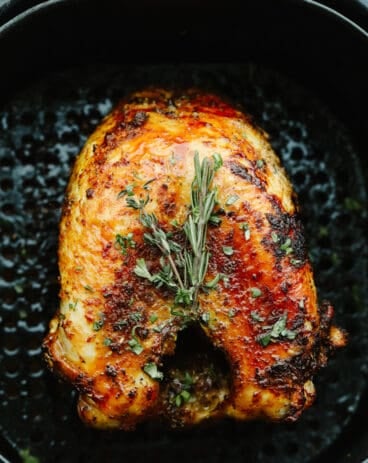
Juicy Air Fryer Turkey
Avocado Deviled Eggs
Easy Empty Tomb Rolls
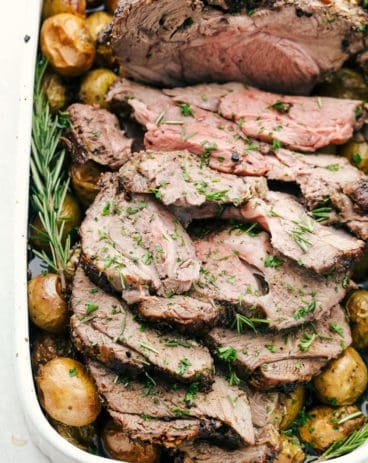
Garlic Herb Crusted Roast Lamb
All nutritional information is based on third party calculations and is only an estimate. Each recipe and nutritional value will vary depending on the brands you use, measuring methods and portion sizes per household.
The Best Homemade Alfredo Sauce Recipe Ever!
Insanely Delicious Prime Rib Recipe
Lemon Garlic Parmesan Shrimp Pasta